[GVT] Kerr-Stuart Lok – Teil 3
Hallo zusammen,
es ist endlich mal Zeit über den 3. Teil der Kerr-Stuart-Lok zu berichten.
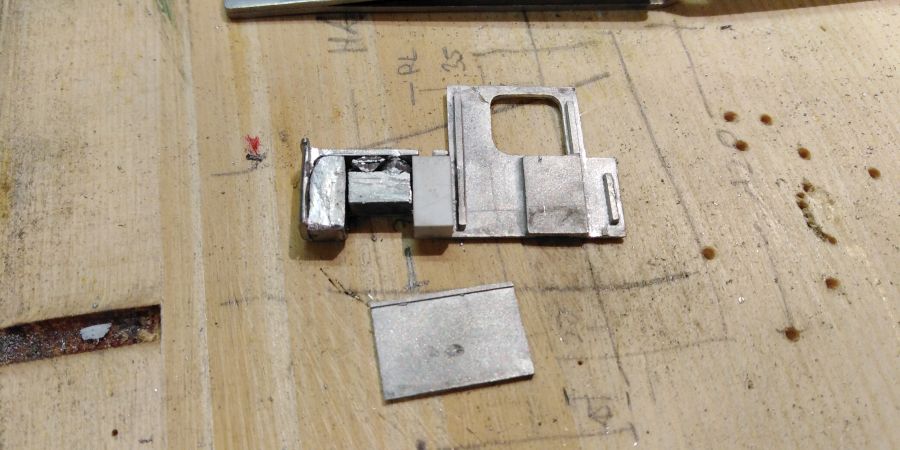
Heute geht es um das Gehäuse. Da die Lok durch das schwere Weißmetall-Führerhaus sehr hecklastig ist, habe ich versucht so viel Gewicht wie möglich nach vorne auf die Spitze zu bringen. Deshalb habe ich die Wasserkästen mit Bleiklötzen aufgefüllt. Der rechte Klotz ist aus Polystyrol, um später das Gehäuse mit einer kleinen Schraube auf dem Rahmen befestigen zu können.
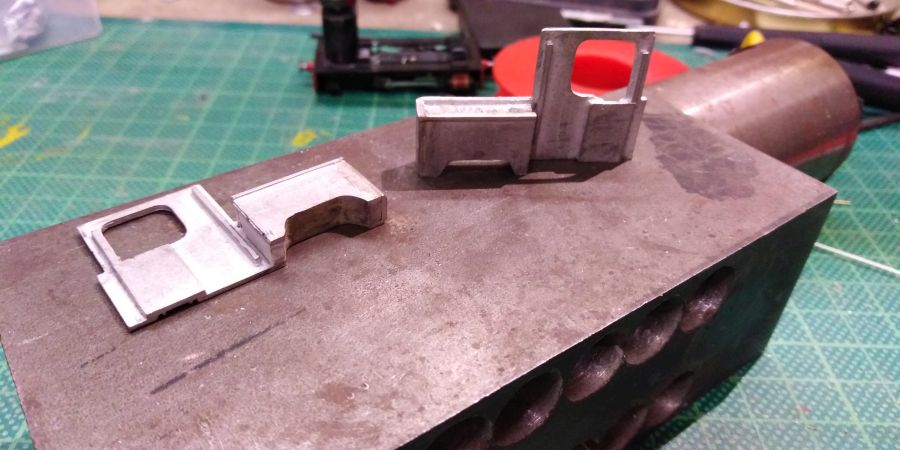

Nach dem Aufkleben der Innenseiten wurden die Lücken auf der Unterseite noch verspachtelt und verschliffen. Auf der Rückseite habe ich wie schon erwähnt den Kohlenkasten abgesägt und die Rückwand nach unten verlängert. Um das Gewicht zu reduzieren ist die untere Hälfte der Rückwand ebenfalls aus Polystyrol nachgebaut worden.
Letzte Maßnahme zur Reduzierung des Gewichtes am Heck ist ein neues Dach aus dünnem Blech. Das Gehäuse wurde dann mit 2K-Kleber verklebt und eventuelle Spalten verspachtelt für nahtlose Übergänge.
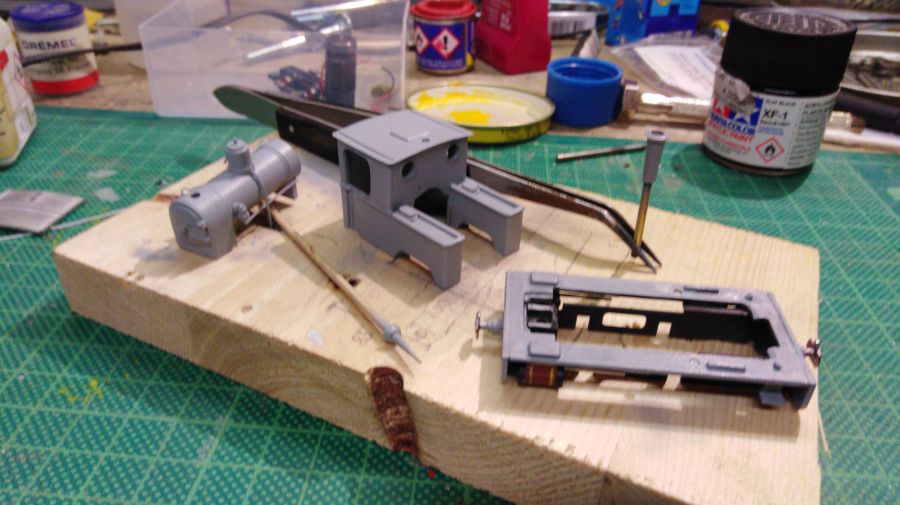
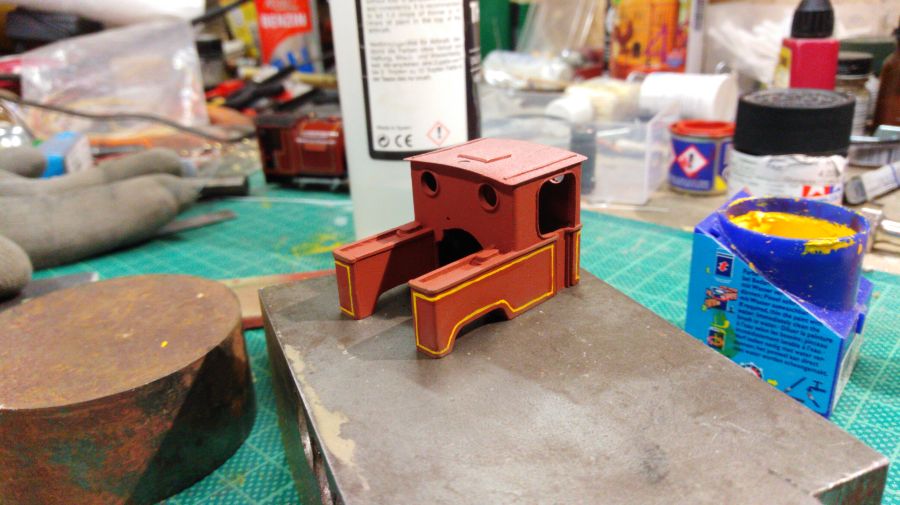
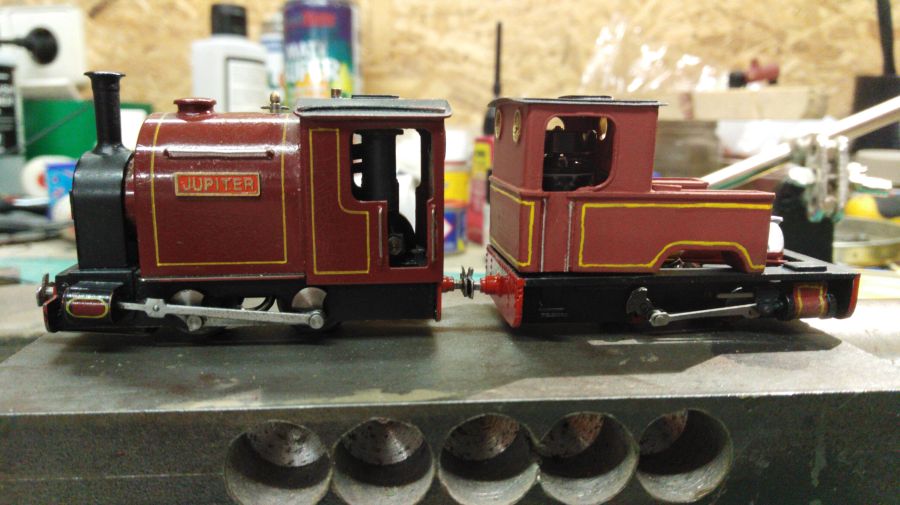
Damit die Farbe auf den Weißmetallteilen gut haftet wurden diese zunächst grundiert. Die Farbaufträge an Gehäuse und Kessel wurden mit der Airbrush vorgenommen. Die schwarzen Teile wurden anschließend mit dem Pinsel lackiert. Auch die Zierlinien wurden bei diesem Modell mit einem eigens zugeschnittenen Linierpinsel von Hand aufgetragen. Es waren einige Korrekturen notwendig, aber Ende war ich mit dem Ergebnis sehr zufrieden. Eine Schicht Klarlack schützt die Lackierung.
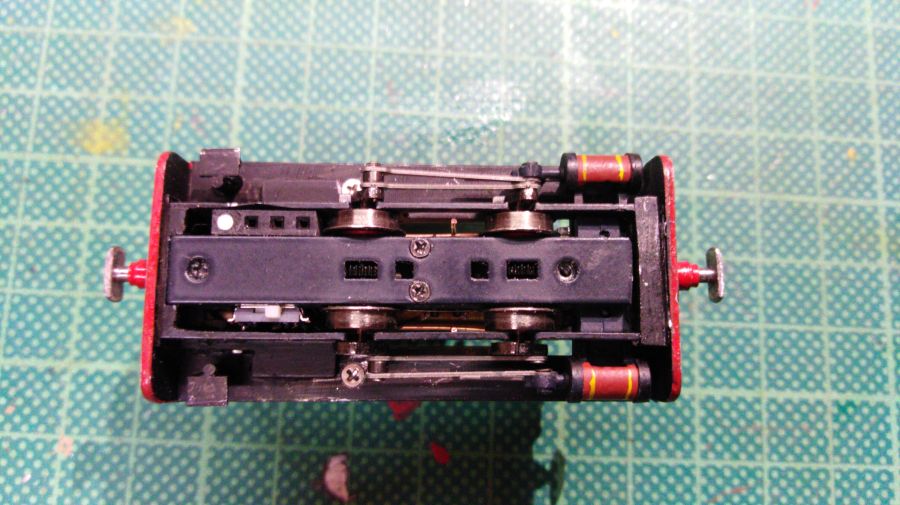
Zuletzt gibt es noch einen Blick von unten. Hier ist die Ladebuchse für den eingebauten Akku zu sehen. Der mittlere Pol führt Plus, die äußeren minus und somit kann der Akku nicht verpolt angeschlossen werden. unten Links liegt ein SMD-Schiebeschalter zum Einschalten der Lok. Der Akku ist so angeschlossen, daß er nur bei ausgeschalteter Lok geladen werden kann. Zusätzlich besitzt der Akku eine Schutzelektronik, der ihn vor Tiefentladung und anderen Problemen schützt.
Der 90mAh-Lipo erlaubt eine Nonstop-Fahrzeit von ca 80 Minuten. Der Ladevorgang mti einem externen Lademodul liegt bei 50 Minuten.
Als nächstes stelle ich euch meinen neuen Handregler vor, den ich für die 009-Loks gebastelt habe.
Feine Sache, Gerd. Lokbau im Lockdown funktioniert prima! :D