[YPLC] Toma Shay – Teil 1
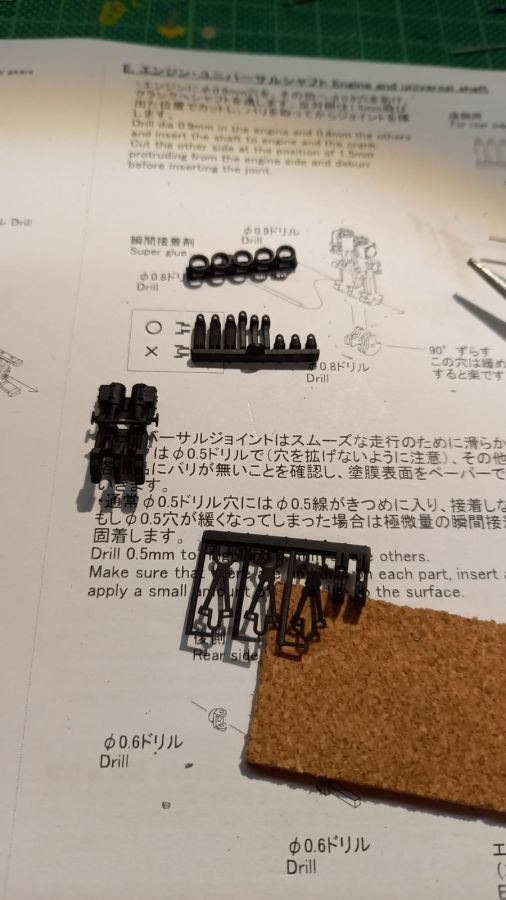
Und los geht’s mit dem Umbau des Chassis von statischem auf beweglichen Kardanantrieb. Viele der kleinen Teile sind noch an einer Art „Gussast“ und sollten auch an diesem verbleiben, bis sie bereit sind für den Einbau. Viele Löcher müssen von Hand noch auf das korrekte Maß gebohrt werden, um einen festen Sitz auf den Wellen zu erhalten.
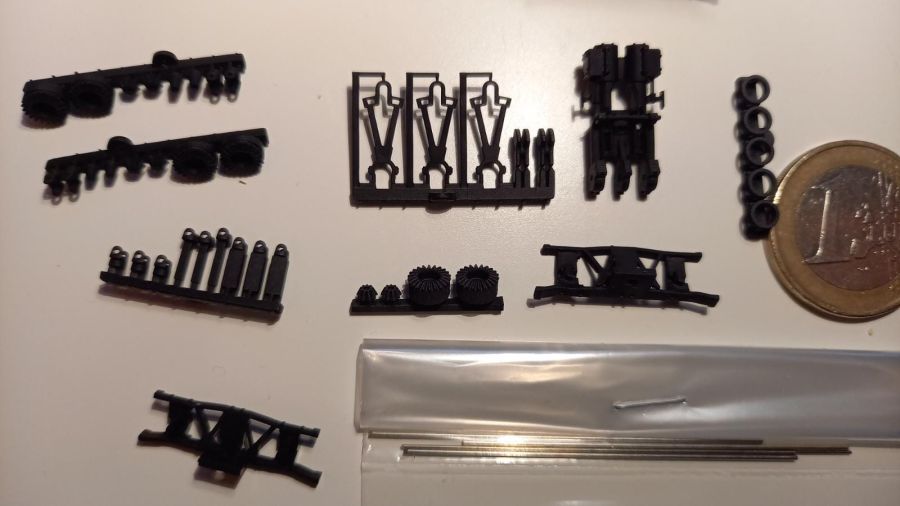
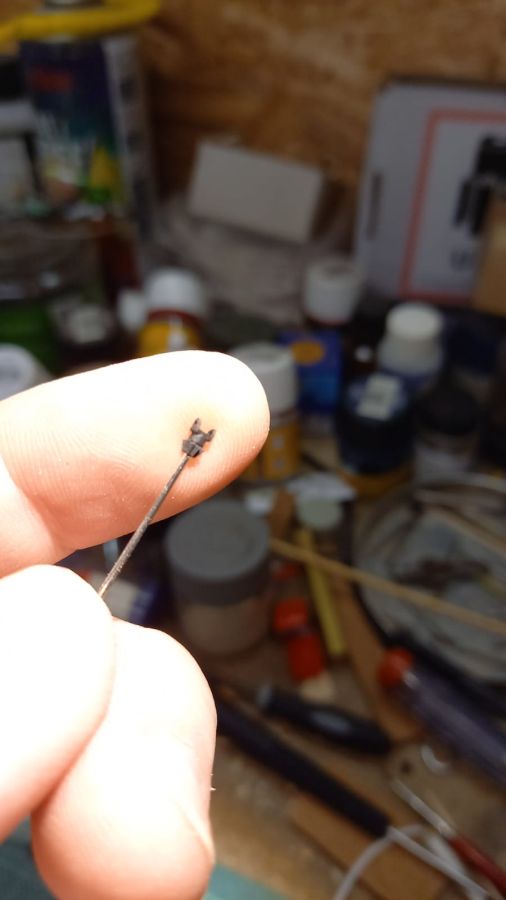
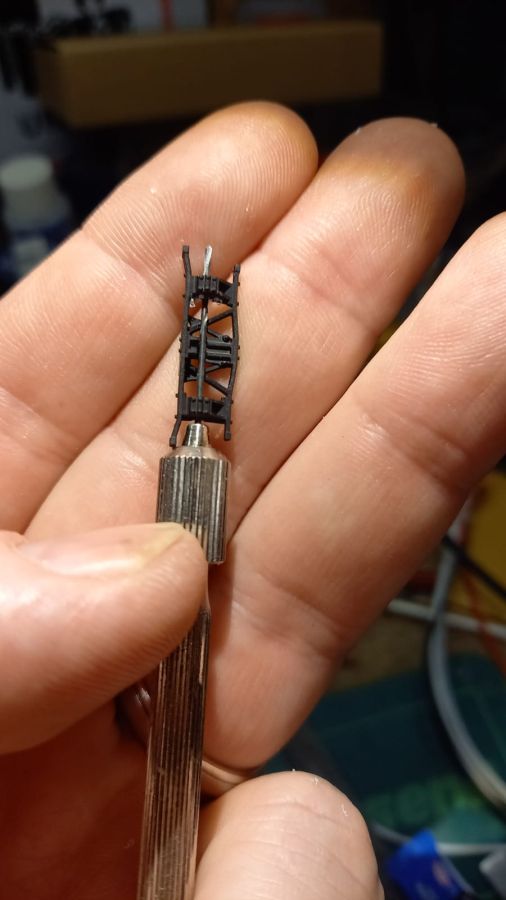
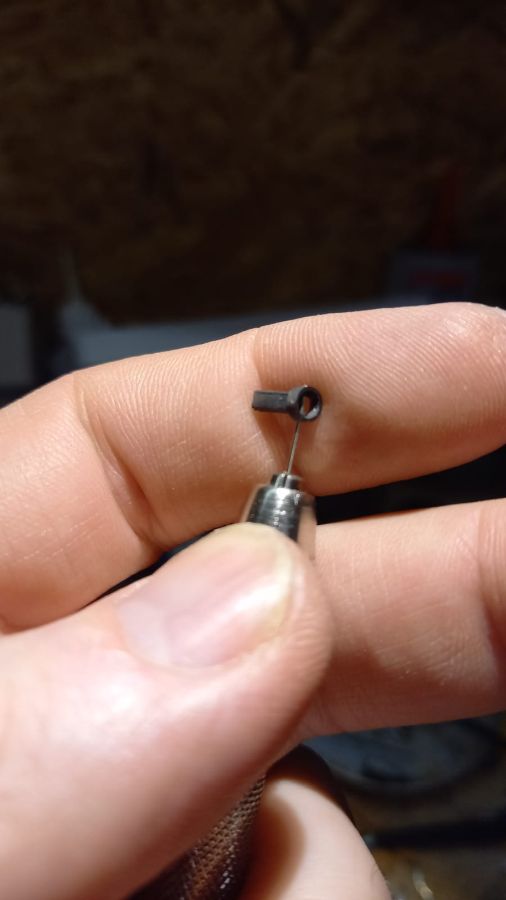
Meine Hand lässt deutlich erahnen wie klein die Teile sind. Der UV-Harz-Kunststoff ist im Übrigen recht stabil, aber dennoch spröde. Man muss also schon sehr sorgsam arbeiten. Außerdem sollte man die Anleitung (als PDF-Download nach Kauf verfügbar und sowohl Japanisch als auch Englisch verfasst) studieren. Die Vorgehensweise beim Bau ist sehr gut ausgeklügelt. Die überlangen Wellen z.B. werden mit einem Handkloben gehalten und so in die Passbohrungen geschoben. Mit bereits zuvor gekürzten Wellen wäre dies gar nicht möglich. Bilder hierzu habe ich weiter unten noch vorgestellt, wenn es an die Kardangelenke geht.
Please accept YouTube cookies to play this video. By accepting you will be accessing content from YouTube, a service provided by an external third party.
If you accept this notice, your choice will be saved and the page will refresh.
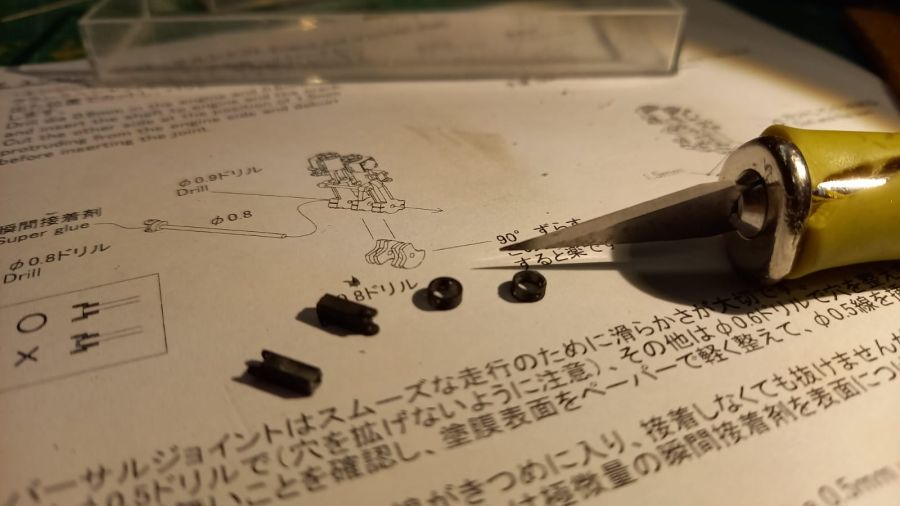
Die Zapfen in den Kardangelenken sind auf 0.5mm Silberdraht. Diese sitzen press in den 0.5mm aufgebohrten Löchern des Ringes, während die Vierkantwellen des Längenausgleichs mit 0.6mm gebohrt werden. Wichtig ist sehr vorsichtig mit wenig Druck und von Hand zu bohren, damit die Löcher nicht zu groß werden (!).
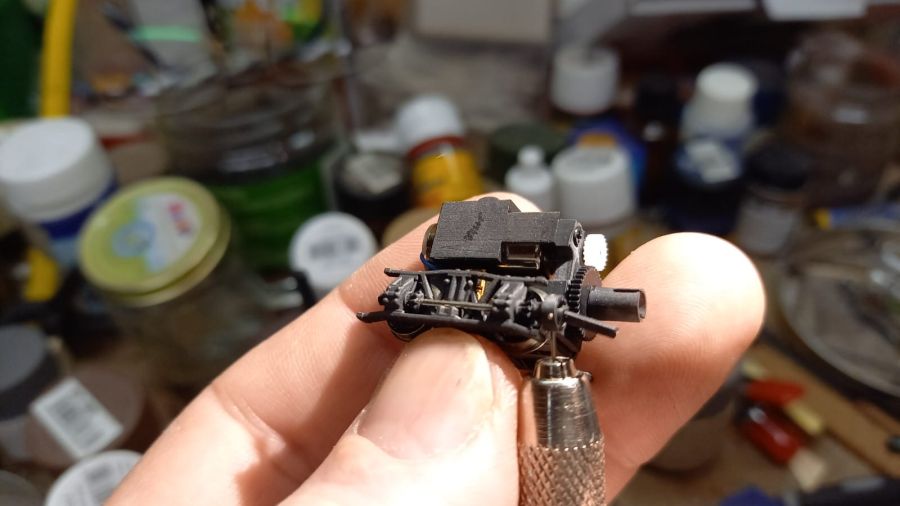
Im letzten Schritt wurde dann noch die Dampfmaschine gebaut. Die Kurbelwelle ist vereinfacht ausgeführt mit einer durchgehenden Welle und ohne Treibstangen. Dies fällt bei dem kleinen Modell kaum auf, macht jedoch die Konstruktion sehr viel einfacher. Leider habe ich hiervon keine Bilder mehr gemacht, da der Zusammenbau solch großen Spaß bereitet hat.
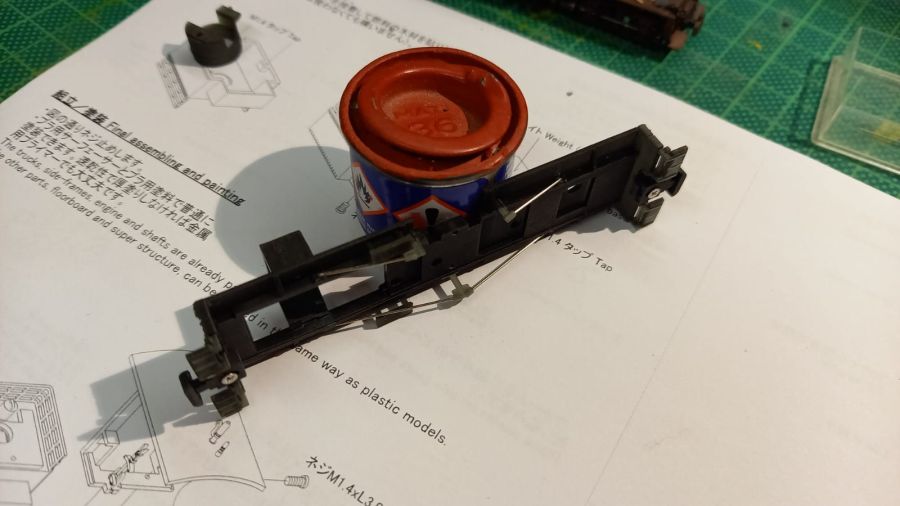
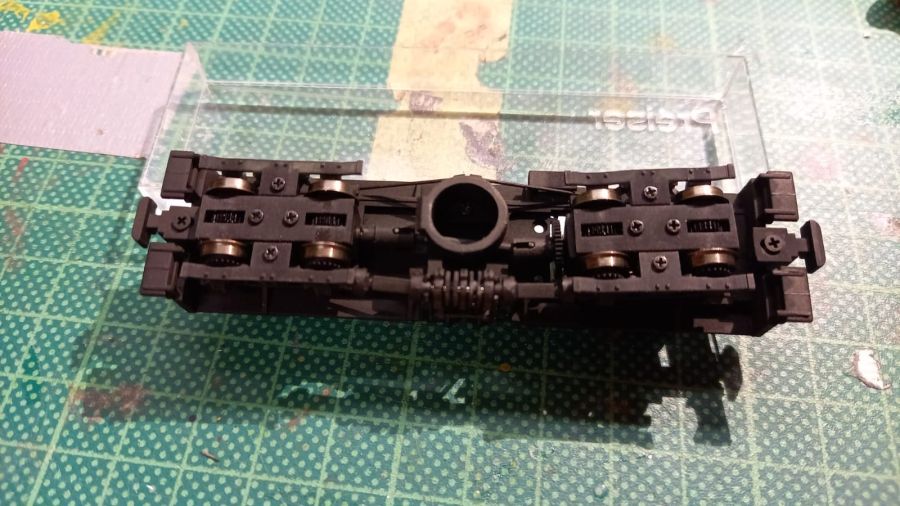
Nach der Montage einiger letzten Zurüstteile am Rahmen für das Sprengwerk konnten alle Komponenten wieder montiert werden. Der Seitenantrieb wird von der vorderen Achse des hinteren Drehgestells angetrieben. Die anderen Kegelradgetriebe laufen als Dummy und die Zähne greifen nicht ein. Dadurch ergibt sich ein Störungsfreier Lauf. Das vordere Drehgestell wird von dem zentral liegenden Kardan angetrieben, der großteils vom Aschkasten verdeckt wird.
Please accept YouTube cookies to play this video. By accepting you will be accessing content from YouTube, a service provided by an external third party.
If you accept this notice, your choice will be saved and the page will refresh.
Im nächsten Beitrag zeige ich euch die Aufbauten und die vielen Details, besonders am Kessel.

Das ist ja ne ganz schöne Pfriemelei, Gerd. Schön – vor allem die Langsamfahrt des Rohbaus.
WAHNSINN!